
Nail Trimming Without the Drama: A Step-by-Step Guide
Master dog nail trimming at home without the stress. Learn desensitisation, clippers vs grinders, finding the quick on dark nails, and what to do if you nick it.

Written by Bradley Brown
Founder & editor · Reviewed 2026-11-15
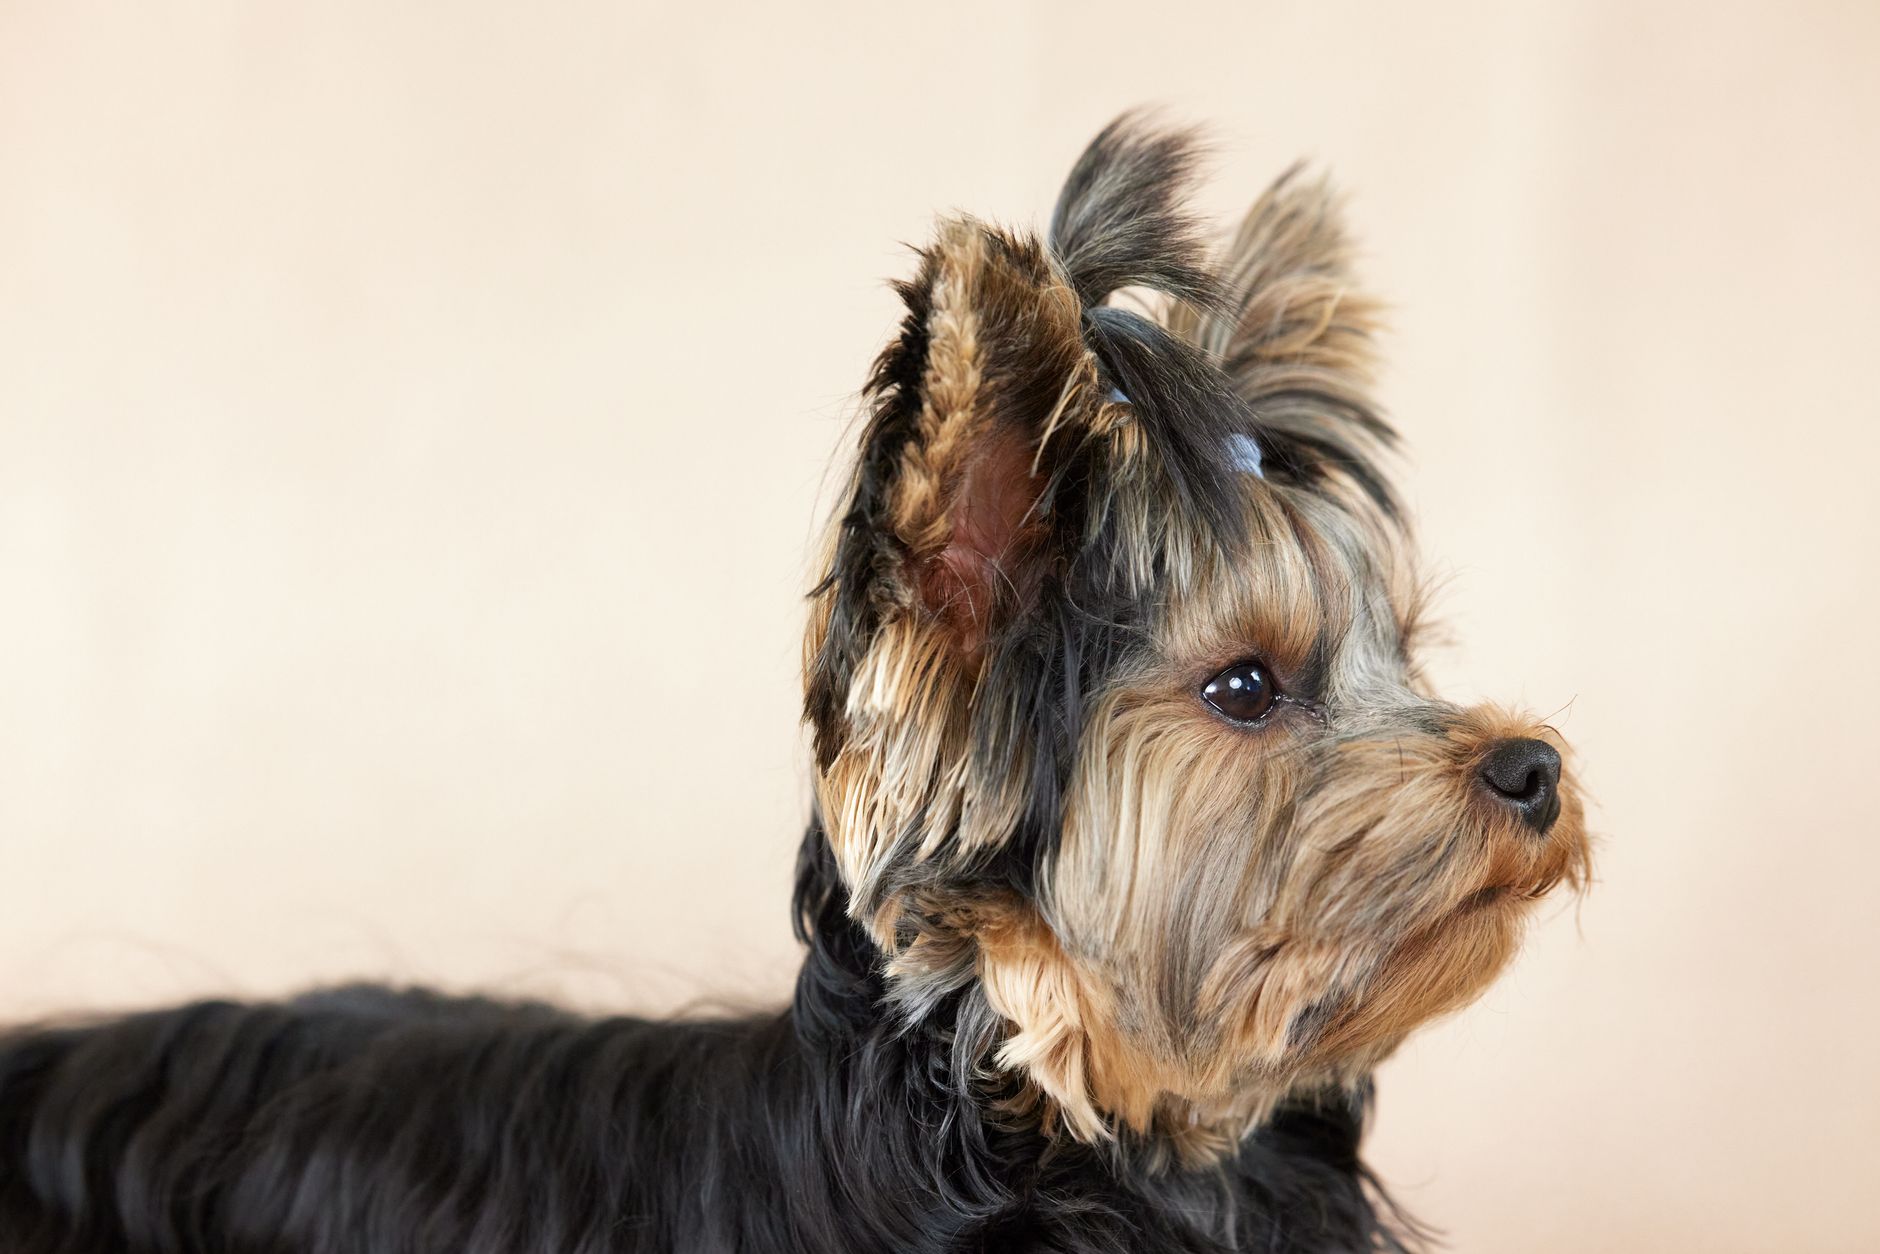
Most dogs aren't born hating nail trims — they learn to hate them after a few bad experiences, or because nobody ever taught them that having their paws handled is safe. If your dog currently runs at the sight of the clippers, that's not a character flaw and it's not your fault. It's a conditioned response, and conditioned responses can be reconditioned. Here's what that actually looks like, week by week.
Before week one: choosing your tool
You need to decide between clippers and a grinder before you start, because switching midway confuses the desensitisation process.
Clippers come in two styles: guillotine (a single blade that closes through a hole) and scissor/plier style. Most vets and groomers prefer the plier style — brands like Millers Forge are widely available at Australian pet stores for around $25–$40. They're quieter, faster, and easier to control. Guillotine blades blunt quickly and can crush the nail rather than cut it cleanly, which hurts.
Grinders (rotary tools like the Dremel or purpose-built pet grinders) file the nail down rather than cutting it. They're slower but let you creep toward the quick gradually, which makes over-cutting almost impossible. The trade-off: they buzz, vibrate, and generate a faint burning smell from nail dust. Some dogs find this worse than a clipper's click; others genuinely prefer it. If your dog is already noise-sensitive, start with clippers.
Whatever you pick, keep styptic powder or a styptic pencil in the kit. Cornflour works in a pinch. You'll need it eventually — every owner who trims nails long enough will catch the quick at least once.
Week one: teaching your dog that paws being touched is not a crisis
Do nothing with the clippers yet. Seriously — put them on the coffee table so the dog can sniff them, but don't use them.
Your only job this week is paw handling. Twice a day, five minutes maximum:
- Ask your dog to sit or lie down, whichever is more relaxed for them.
- Gently hold one paw for two seconds. Release. Treat.
- Hold it for four seconds. Release. Treat.
- Lightly squeeze each toe. Release. Treat.
- Press the nail itself, mimicking the pressure of a clipper. Treat.
If your dog pulls away, you've gone too fast. Drop back one step. The goal is for the dog to remain loose and calm — not just tolerating it, but genuinely unbothered. That's what you're watching for: a relaxed body, soft eyes, no tensing in the leg.
By the end of the week, most dogs are letting you manipulate their paws without drama. If yours isn't, stay in this phase for another week. There is no schedule worth stressing a dog over.
Week two: introducing the tool without using it
Now bring the clippers (or grinder) into the equation — still without trimming anything.
For clippers:
- Let the dog sniff the clippers. Treat.
- Touch the clippers to the dog's paw. Treat.
- Squeeze the clippers once near the dog's paw so they hear the click. Treat.
- Touch a nail with the open clipper jaw, hold for two seconds. Treat.
For a grinder:
- Turn it on across the room. Treat.
- Turn it on closer. Treat.
- Let them sniff the (stationary, off) grinder. Treat.
- Touch the (off) grinder to their paw. Treat.
- Turn it on and briefly touch it to your own fingernail so they see and hear what it does. Treat.
Do three to four nails maximum in any session, then stop — even if the dog seems fine. Ending on a high note before they hit their threshold is what builds trust. Sessions should still sit in the five-to-ten-minute range.
Week three: the first real trim
Pick the least sensitive paw — usually a front paw, and usually the nail that sticks out furthest. Good light is non-negotiable. Natural light or a head torch aimed directly at the nail is better than a lamp across the room.
Finding the quick on light-coloured nails is straightforward: it's the pink column of tissue visible through the nail. Cut 2 mm beyond where the pink ends and you're safe.
Finding the quick on dark or black nails is where most owners get nervous, and rightly so — you can't see it. Work in thin slices:
- Clip just the hooked tip off — the part that curves downward. Look at the cut surface.
- The nail will appear solid and whitish-grey. Keep going in thin slices.
- When you see a small dark dot appear in the centre of the cut surface (sometimes described as a grey or black circle), stop. That dot is the quick beginning. You're close enough.
Each thin slice takes only a millimetre off, so if you're nervous, go slowly. It's far better to leave the nail slightly long than to cut into the quick.
Aim to trim one or two nails per session in this first week of actual cutting. Yes, really — one or two. A dog that's calmly okay with two nails trimmed is in a better position than a dog who's been wrestled through a full set and now associates the whole process with stress.
Week four: building to a full set
By now your dog should be showing noticeably less avoidance — maybe even walking up to you when you get the kit out, because treats have been reliably good news. This week you can start doing all the nails on one paw per session, then two paws, then the full set across two sessions.
The dewclaws (the nails on the inner side of the leg, if your dog has them) often get forgotten because they don't touch the ground and don't wear down. They also tend to curl more aggressively toward the pad. Check them every session.
If you do catch the quick: stay calm, because your dog will read your panic. Apply styptic powder directly to the nail — press it in firmly for about thirty seconds. Cornflour applied with gentle pressure does the same job. The nail will bleed more than looks proportionate and will stop within a minute or two. Give your dog a treat, have a little sit together, then carry on if they're willing. If they're done for the day, that's fine — end the session warmly and try again tomorrow. One nick does not undo four weeks of trust-building.
Week five and beyond: keeping up the momentum
Nails that are trimmed regularly are easier to trim, because the quick recedes over time when it isn't being allowed to push forward. Dogs with long-neglected nails have quicks that have grown out toward the tip; you can't fix that in one session. You trim conservatively, wait a week or two, trim again, and gradually the quick retreats. This process takes weeks to months depending on how overgrown the nails were.
The ideal frequency for dog nail trimming at home is roughly every three to four weeks for most dogs, though high-activity dogs who run on hard surfaces may need less. A useful rule of thumb: if you can hear the nails clicking on hard floors, they're overdue.
A handful of dogs genuinely won't come around to home trimming no matter how patiently you work through desensitisation — usually dogs with a history of significant trauma around handling. If after six to eight weeks of consistent, low-pressure sessions your dog is still distressed (not just mildly reluctant, but genuinely distressed — panting, shaking, trying to bite), a vet or certified veterinary behaviourist can assess whether a short-term anxiety management plan would help. Some dogs do better with one person holding and another trimming, or on a grooming table with a licki-mat. These aren't failures; they're just individual dogs with individual needs.
For the rest — the vast majority — patience, thin slices, and a steady treat supply get you there.
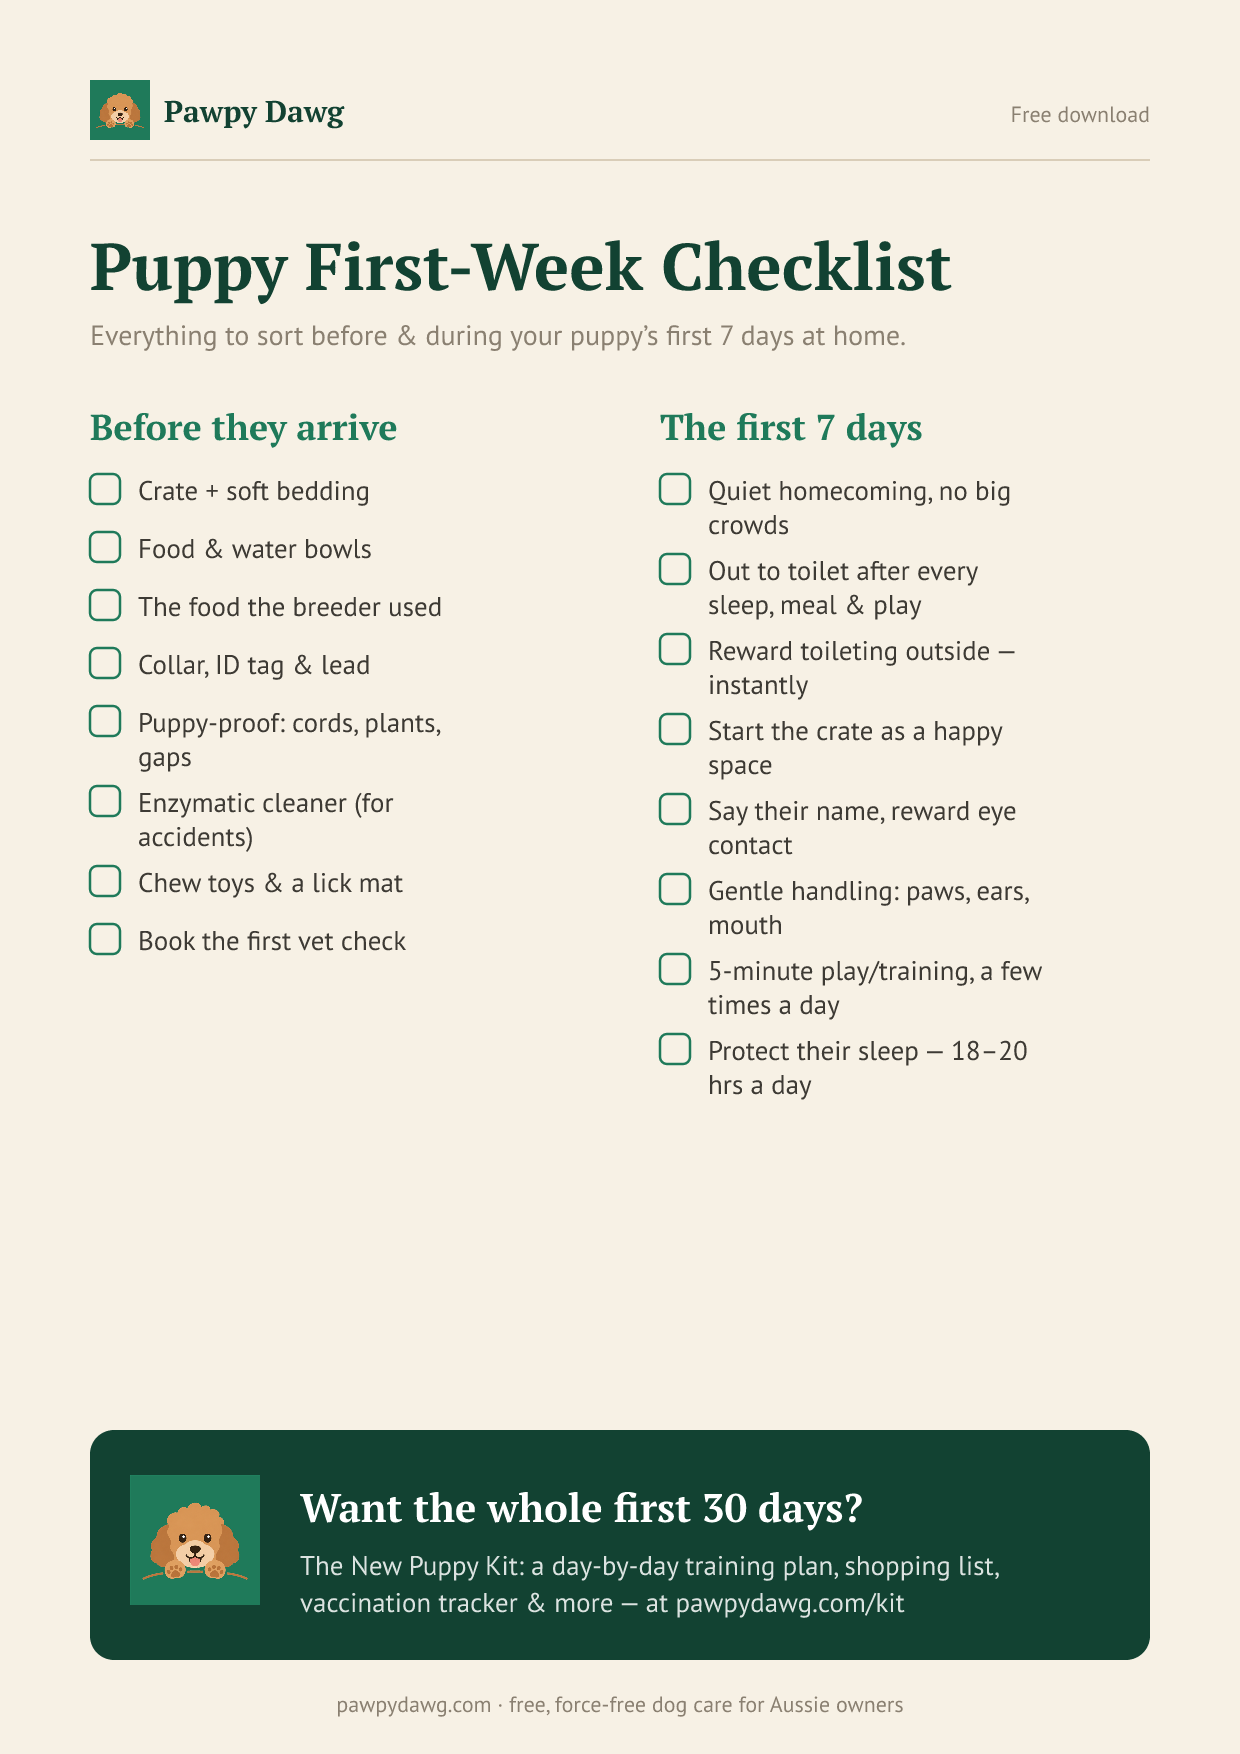
Free printable
Free: the Puppy First-Week Checklist
Everything to sort before and during your puppy's first 7 days home — a printable one-pager. Plus the occasional genuinely useful dog tip. No spam, unsubscribe anytime.
Related guides
Is Pet Insurance Worth It in Australia? The Honest Maths
Is pet insurance worth it in Australia? We crunch real premiums vs real vet bills — cruciate surgery, snake bite & more — so you can decide with confidence.
Read the guide →
How Much a Dog Really Costs Per Year in Australia (2026 Breakdown)
How much does a dog cost per year in Australia? 2026 line-item breakdown covering food, vet, insurance, grooming & the costs first-timers always miss.
Read the guide →
Dog Vaccination Schedule in Australia: What, When and What It Costs
Confused by C3, C5 and kennel cough? Here's your complete dog vaccination schedule Australia cost guide — puppy timelines, adult boosters & typical AUD prices.
Read the guide →